In a world where photos are basically currency, knowing how to upload them from an iPhone to a Chromebook can feel like trying to solve a Rubik’s Cube blindfolded. Fear not! This guide is here to save the day and your precious memories. Whether you’ve captured a cat video that deserves an Oscar or a sunset that could make even the grumpiest person smile, transferring those gems doesn’t have to be a Herculean task.
How To Upload Photos To Chromebook From iPhone
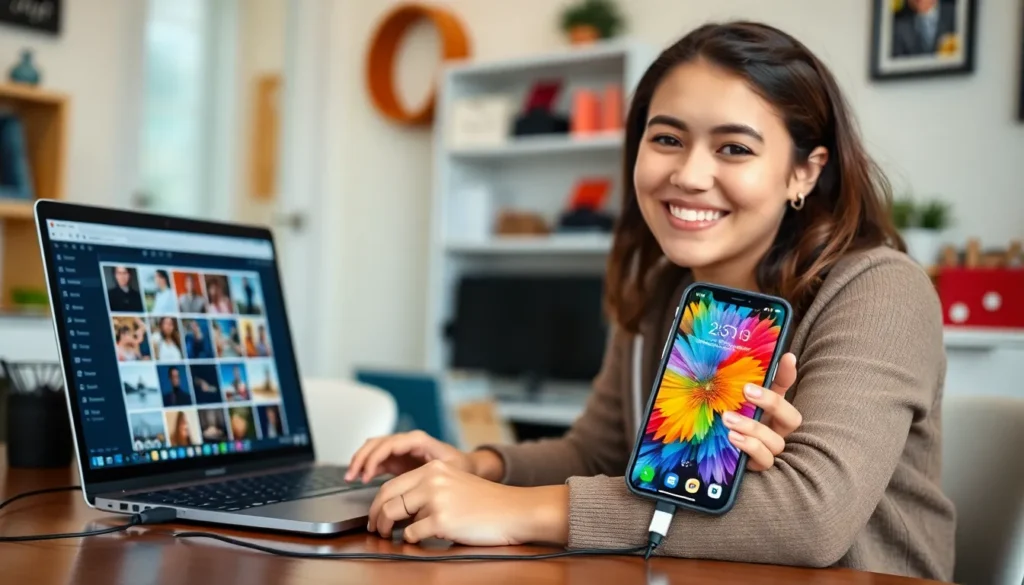
Uploading photos from an iPhone to a Chromebook involves several straightforward steps. Users should start by connecting the iPhone to the Chromebook using a USB cable. This connection allows the Chromebook to recognize the iPhone as an external storage device.
After establishing the connection, unlock the iPhone and select “Trust This Computer” when prompted. This action grants the Chromebook access to the phone’s files. Next, open the Files app on the Chromebook, and locate the iPhone listed under devices.
Photos stored on the iPhone should then appear in the appropriate folder. Users can browse through their photo library easily. To transfer photos, select the desired images. After selection, drag and drop them into a chosen folder on the Chromebook.
For users preferring wireless methods, cloud services offer a convenient alternative. Uploading photos to cloud storage from the iPhone allows access from the Chromebook without physical connections. Services like Google Drive or Dropbox provide free storage options, making this method practical.
If opting for Google Photos, install the app on the iPhone and sync the desired photos to the cloud. Accessing Google Photos on the Chromebook provides instant access to all synced images. This feature enables users to manage and edit photos effortlessly.
Following these steps ensures users successfully upload photos from an iPhone to a Chromebook, preserving memories with minimal hassle. Memory transfers, whether through USB or cloud methods, enhance the usability of both devices and improve the overall user experience.
Preparing Your Devices

Before transferring photos from an iPhone to a Chromebook, ensure both devices are ready. This preparation is essential for a smooth and efficient process.
Updating Software
Updating software on both the iPhone and Chromebook guarantees compatibility. For the iPhone, go to Settings, tap General, then select Software Update. On the Chromebook, click on the time in the bottom-right corner, then choose Settings. Scroll to About Chrome OS and select Check for updates. Keeping both devices updated prevents potential syncing issues.
Connecting Devices
Connecting the iPhone and Chromebook through a USB cable creates a reliable link. Begin by using a functional USB cable to connect the devices. After connecting, unlock the iPhone and select “Trust This Computer.” This selection allows the Chromebook to access the iPhone’s photo library. If preferred, wireless connections via cloud services like Google Drive can also facilitate this process, offering flexibility in managing photo transfers.
Using Google Photos
Google Photos provides a reliable method for transferring photos from an iPhone to a Chromebook. This service allows seamless syncing of images across devices, ensuring access anytime.
Uploading Photos from iPhone
To upload photos, users must first install the Google Photos app on their iPhone. After logging in with a Google account, they can enable backup and sync. Users must select the images they want to upload or allow automatic backup. Once the photos are uploaded, they reside in the Google Photos cloud, making them accessible from any device.
Accessing Photos on Chromebook
Accessing uploaded photos on a Chromebook involves opening the Google Photos website or the app. After signing in with the same Google account, users can view all synced images. Photos are organized by date and can be easily searched. Users can download desired images directly to their Chromebook or share them through various platforms.
Transferring via USB
Transferring photos via USB cable is one of the most direct methods to move images from an iPhone to a Chromebook. Follow these structured steps to complete the process effectively.
Connecting the iPhone
Connect the iPhone to the Chromebook using a compatible USB cable. Unlock the iPhone and tap on “Trust This Computer” when prompted. This action establishes a secure connection, allowing the Chromebook to access the iPhone’s contents. Check the USB settings on the iPhone to ensure the device is set to transfer images. It’s essential to maintain the connection throughout the transfer process to prevent interruptions.
Importing Photos to Chromebook
Open the Files app on the Chromebook once the iPhone connection is established. Locate the iPhone listed under external devices in the sidebar. Users can find their photo library by navigating through folders labeled DCIM. Select desired photos by clicking and dragging them into a folder on the Chromebook. Alternatively, right-click and choose the option to copy and paste. Upon completion, safely eject the iPhone to ensure all data transfers are finalized.
Alternative Methods
For transferring photos from an iPhone to a Chromebook, several alternative methods simplify the process. Beyond USB connections, users can explore cloud storage solutions and third-party applications.
Using Cloud Storage
Cloud storage services like Google Drive and Dropbox offer an efficient way to upload photos without needing cables. Users can install these apps on their iPhone, upload selected images, and then access them easily on a Chromebook. After logging into the same account on both devices, finding photos becomes hassle-free. They can organize files into folders for better management, ensuring everything is at their fingertips at all times.
Third-Party Apps
Numerous third-party apps assist in transferring photos seamlessly. Applications such as AirDroid and Send Anywhere enable quick sharing across devices. Users need to install the app on both their iPhone and Chromebook. Once connected through Wi-Fi, transferring images occurs without any delays. Each app offers user-friendly features, allowing individuals to choose specific images or whole albums for transfer, enhancing their experience significantly.
Transferring photos from an iPhone to a Chromebook doesn’t have to be a daunting task. With the right steps and tools, users can easily preserve their cherished memories and access them across devices. Whether opting for a direct USB connection or using cloud services like Google Drive and Google Photos, the process becomes straightforward and efficient.
By ensuring both devices are updated and properly connected, users can enjoy a seamless experience. Embracing these methods not only simplifies photo management but also enhances the joy of sharing memories with friends and family. With this guide in hand, anyone can confidently navigate the transfer process and keep their favorite moments close at hand.